
Buckwheat Sprouting Instructions: Step-By-Step To Dehydrated Sprouts
Learn how to sprout buckwheat groats step-by-step in this buckwheat sprouting guide. From groat cleaning to the jar sprouting process, to harvest, dehydration, storage and more.
Equipment
- 1 mesh strainer Any colander or strainer that enables you to rinse groats
- 1 glass bowl For sanitizing
- 2 mason jars Quart size: 32 fluid ounces or 4 cups (can use just one also).
- 1 sprouting lid For jar sprouting
Ingredients
- 1 cup Buckwheat groats organic and sproutable (not heat-treated)
- 1 piece Cheesecloth any breathable, organic cotton cloth for covering groats while soaking.
Instructions
1. Sanitize Buckwheat Groats
- Rinse your cup of buckwheat groats to remove starch and anything else floating around that shouldn't be there.
- Use 1 part vinegar to 4 parts water do clean your groats. A drop of dish soap further helps, but this would require a thorough rinsing after the soak.
- In a sterile glass or stainless steel bowl, submerge the buckwheat groats in the vinegar seed cleaning solution. Cover the bowl with a cheesecloth and leave them for 10 minutes. A separate mason jar is OK for soaking, but a larger bowl lets them expand and is best.It's best not to use the same mason jar you'll be sprouting in.
- Rinse more than thoroughly after the cleaning-soak is finished. You want all vinegar remnants removed and the water running clear for a while.
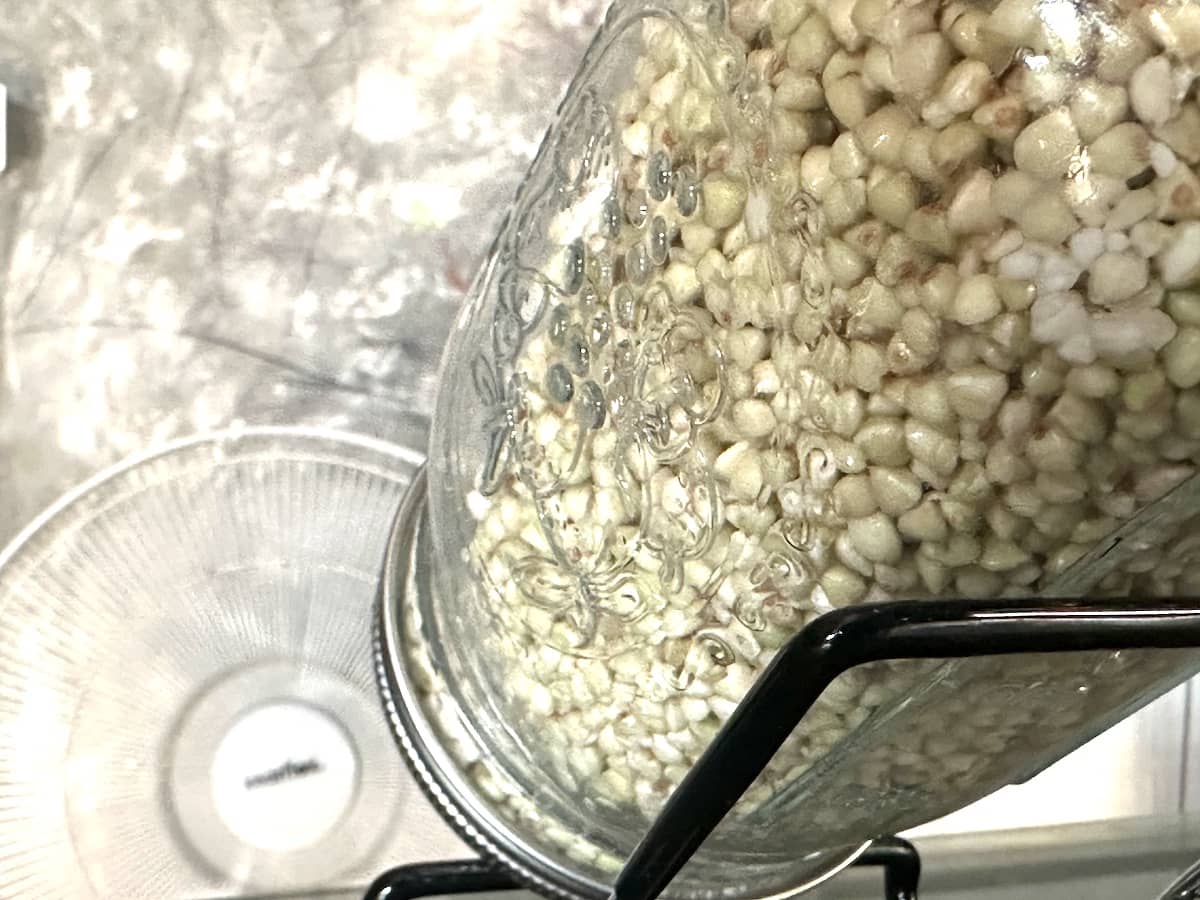
2. The Groat Soak
- Do a sterile transfer here of the buckwheat groat seeds to a sterile glass bowl.
- Submerge them in water, leaving at least 2x the space on top. A short soak won't see them expand, but you should fully-submerge them with an ample amount of water on top.
- Leaving undisturbed in your sprouting area, soak the buckwheat sprouts for 30 minutes in a cheesecloth covered bowl.1 piece Cheesecloth
3. Set Rinse and Flip Schedule
- For groats, every 8 hours is ideal. If your temperature is great and not humid, then you're fine at every 12 hours.
- Make sure you've really let out all excess water in the jar after a very thorough rinsing. The water should run clear before you stop the rinse. And then you need to make sure drops don't fling off when it's time to tilt the jar over for the sprouting.
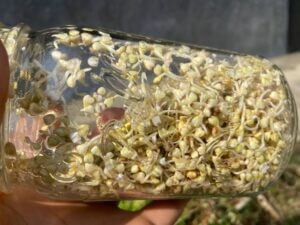
- If your room has no airflow or is humid or hot, a fan can help.

4. Harvest Time!
- When you've decided you want to harvest the buckwheat sprouts, towel dry them first. Then using new dry paper towels, lay them out thinly on a tray and air dry the finished buckwheat sprouts with some pats and a fan. Do this also to prepare them for long term storage.
5. Storing Dried & Dehydrated Buckwheat Sprouts
- For short term storage you'll towel dry them before placing them in a sealed container. These won't last long, so consume that week and sooner.
- For long-term storage, you'll need to dehydrate the groats after towel-drying them. I've added oven and dehydrator machine methods below.Note: When properly hydrated and stored, dehydrated buckwheat sprouts can store for up to a couple years.
Bonus Step. Sprout Dehydration Methods
- To dehydrate groats in the oven, first line your oven tray with a silicone baking paper (aka parchment paper that's not toxic).
- Next, bake them on the lowest setting you can, leaving the oven door ajar. 114°F for around 8 hours works great. Note: If you can reach double digit Farenheit numbers like a degree in the 90's, this would be good.
- For toastier options, crank up the heat. It will halve the time too.
- To dehydrate groats in a dehydrator, 115°F for around 5 hours can do it. If it's sunny, we use the sun. Otherwise the oven works great too.
Notes
If you're dehydrating with a machine, stainless steel trays and lower temp with longer hours is best for reasons of potential issues from plastic components.
After eating half the batch, we dried the rest and still got a good 7 tablespoon's worth of buckwheat flour.
You may want to double the raw buckwheat groats amount if making flour from it.
Tried this recipe?Let us know how it was!